 how-to
Why Concrete Finishes Look Uneven: Causes and Fixes
Table of Contents
- Why Concrete Finishes Look Uneven: A Diagnostic Guide
- Concrete Discoloration Causes and Fixes
- Water, Mix Consistency, and Overworking the Surface
- Weather, Moisture Loss, and Uneven Drying
- Formwork, Screeding, and High and Low Spots
- How to Fix Uneven Concrete: Repair by Defect and Severity
- Patchy Concrete Sealer and Concrete Resurfacing Options
- Prevention Checklist for DIY Pours and Pro Finishing
- Frequently Asked Questions
Last Updated: October 16, 2026
Why Concrete Finishes Look Uneven: A Diagnostic Guide
Homeowners across the Kansas City metro call us with the same complaint: the new slab looks wrong.
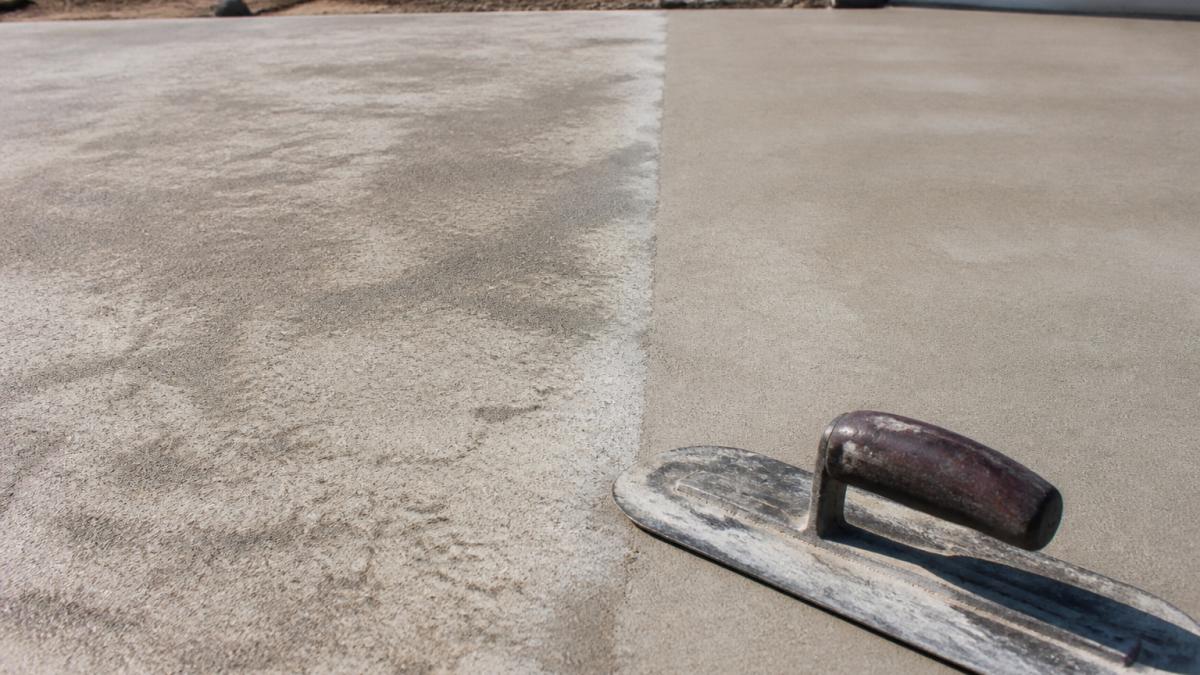
At BK Concrete LLC, we pour driveways, foundations, and commercial flatwork daily. Complaints almost always trace to one of three failures: color, texture, or flatness.
This guide breaks all three down, diagnosis, cause, and fix, plus the finishing and curing timeline, and how extra water during finishing ruins a surface.
Color, Texture, or Flatness: Three Different Problems
Uneven color means the slab is one shade in some spots and another shade elsewhere. Uneven texture means the surface feels rough, sandy, or pitted. Uneven flatness means the slab has high spots and low spots you can feel underfoot or see when water pools.
The three often appear together, which is why diagnosis matters. A dark blotch is not a flatness problem, and grinding it will not help. A dip is not a color problem, and sealing it will not help. Match the fix to the defect.
How to Measure Flatness and Spot Functional Issues
Flatness is the one defect you can measure, not just see: a straightedge shows gaps, standing water marks low spots, and a marble drifts toward the dips.
Cosmetic defects change how the slab looks; functional defects change how it performs. Water that pools against a foundation can cause real damage, so treat standing water after a storm as a functional problem, not a stain.
Concrete Discoloration Causes and Fixes
Concrete discoloration causes and fixes come down to one principle: the surface dried, hydrated, or was worked at different rates across the slab, locking a different shade into the cement paste. The most common drivers are:
- Too much water in the mix at the plant or on site, which raises the water-to-cement ratio and lightens the cured surface
- Uneven drying from sun, wind, or shade across the slab, which changes how much water is available for hydration at the surface
- Calcium chloride accelerators added in cold weather, which can leave a darker, mottled cast
Reading the Pattern to Find the Cause
The shape and location of the discoloration usually points to the cause.
- Blotches that follow the sun path across a slab point to uneven drying and a missing or uneven cure.
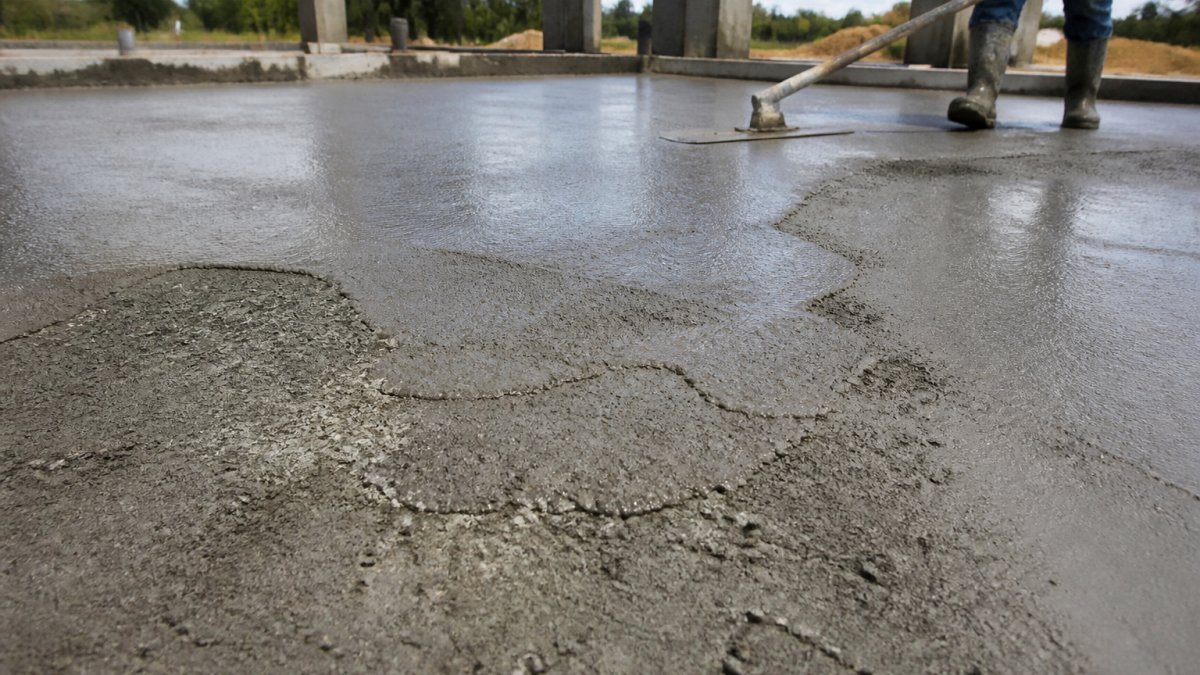
- Dark, glossy patches in the troweled field point to early or over-troweling, often called trowel burn.
- A uniform lighter shade overall points to a high water-to-cement ratio or too much water added on site.
Matching pattern to cause matters because each fix differs. Staining an over-troweled slab hides the symptom but not the densified paste underneath.
Fixes by Severity
- Mild, uniform blotching: A penetrating stain or dye can even out the tone. Test on a small, hidden area first because the cured slab may take stain unevenly.
- Moderate blotching with a sound surface: A thin overlay or microtopping hides the difference and gives a uniform top layer.
- Deep or patterned discoloration: Grinding and polishing removes the top layer of paste and can bring back a uniform look, but it changes the surface profile and may expose aggregate.
Uneven Color, Blotches, and Aggregate Exposure
Aggregate exposure is different from discoloration: cement paste wears or washes away and leaves the gravel showing, a pebbly, rough patch on a driveway. Two causes: over-finishing pushes paste down and leaves aggregate near the top, or a weak mix or too much water leaves the surface soft so traffic wears the paste away. The fix is usually a resurfacing overlay.
For background on how hydration and curing affect surface color, see the American Concrete Institute's resources on curing.
Water, Mix Consistency, and Overworking the Surface
Adding water during finishing is the single biggest mistake we see on job sites. It makes concrete easier to spread and trowel but weakens the surface, raises the water-to-cement ratio, and invites discoloration, dusting, and aggregate exposure.
Mix consistency matters just as much. A stiff, consistent mix finishes evenly; a sloppy, wet mix separates and never sets the same way twice.
Weather, Moisture Loss, and Uneven Drying
Weather during placement and curing decides how even the final color will be. Hot sun, dry wind, and low humidity pull moisture out fast; shade and cooler air slow it down.
Across a large pour, edges lose moisture before the middle, leaving a slab blotchy from day one.
Curing is the control lever here. For guidance on proper curing practice, see the American Concrete Institute's curing resources.
Formwork, Screeding, and High and Low Spots
Formwork quality and cleanliness shape the slab before finishing starts. Dirty forms leave residue and stains along the edges. Weak or bowed forms let concrete bulge, creating high and low spots.
Screeding levels fresh concrete to form height; do it poorly and you build in the dips. Floating and troweling smooth the surface but cannot fix a slab that was never level.
How to Measure Flatness and Tell Cosmetic From Functional
Flatness is the one defect you can measure instead of eyeballing. A few checks separate cosmetic waviness from a real functional problem.
- Straightedge check: Lay a long straightedge or a level across the slab. A gap you can slide a coin under is a low spot worth noting. A gap you can slide your fingers under is a functional dip.
- Water test: After a rain or a hose-down, watch where water stands. Water that pools in the middle of a driveway and dries on its own is usually cosmetic. Water that stands against a foundation, garage door, or threshold is functional and needs attention.
- Marble or ball roll: A marble rolled across a floor drifts toward the low spots. This is a fast way to map the dips in a large room.
- String line: For long runs like driveways, a string pulled tight from end to end shows the high and low points along the length.
A practical threshold: dips that drain within a day or so are usually cosmetic. Dips that hold water for days, or direct water toward a structure, are functional. Most practitioners treat any ponding against a building as a defect to correct.
Where High and Low Spots Hide
High and low spots hide where hand-finishing around walls, joints, and bulkheads. These tight areas are hard to reach with a bull float, and a rushed edge finisher leaves a ridge or dip that stands out once cured.
Bulkheads, the temporary forms at the end of a pour, are a common source of trouble. If one is not set square and to the right height, the next pour starts from a bad reference and the joint shows a step.
Formwork Checks Before the Pour
- Set every form to the same height and check it with a string line or laser.
- Clean forms and apply release agent evenly so the edges do not stain or stick.
- Brace forms so they cannot bow under the weight of wet concrete.
- Check that bulkheads and joint forms are square and at the correct elevation.
If high and low spots are already in a cured slab, grinding brings down the highs and patching or leveling compound fills the lows. Grinding works best on small, isolated high spots; broad dips are better handled with self-leveling compound or a resurfacing overlay, since grinding a large area removes too much surface and exposes aggregate.
How to Fix Uneven Concrete: Repair by Defect and Severity
How to fix uneven concrete depends on which defect you have and how bad it is.
| Defect | Severity | Best Fix | Notes |
|---|---|---|---|
| Uneven color | Cosmetic | Stain, dye, or overlay | Match the cause first |
| Rough texture | Cosmetic to moderate | Grinding or resurfacing | Test a small area first |
| Aggregate exposure | Moderate | Resurfacing overlay | Fixes worn paste |
| High and low spots | Functional | Grinding high spots, patching lows | Leveling compound for dips |
| Pooling water | Functional | Regrade or resurface | Address drainage fast |
| Cracks with movement | Structural | Engineer review | Do not just patch over it |
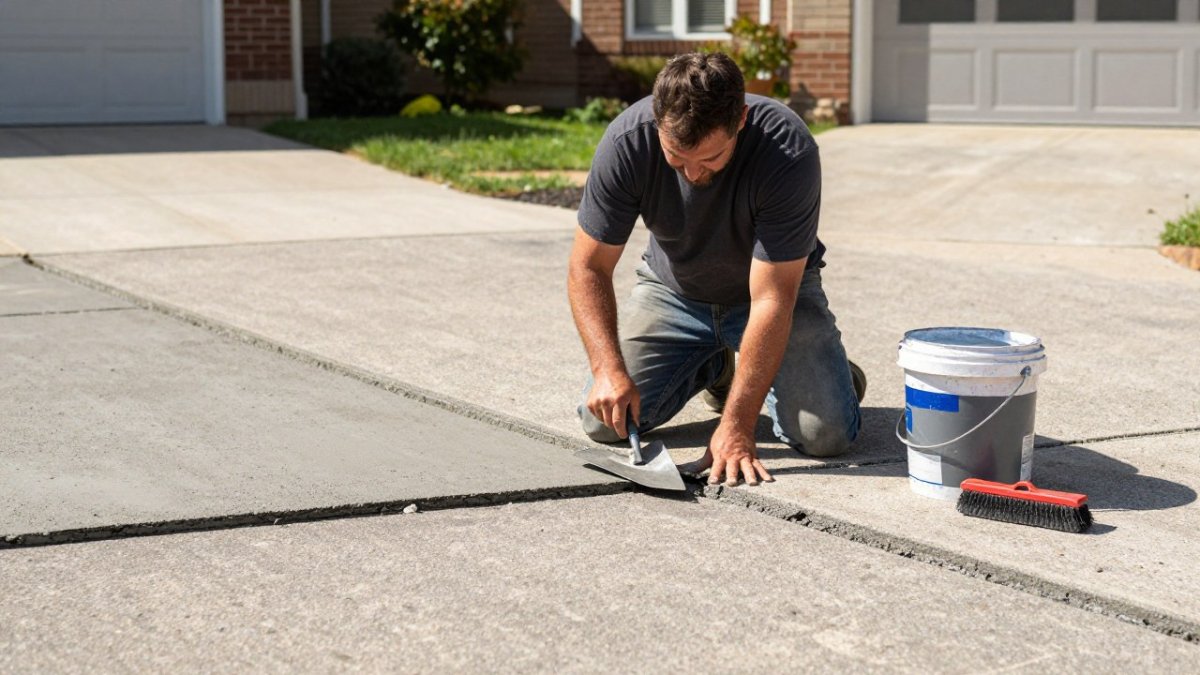
Mild color blotches are easiest to fix with a stain or dye. Rough patches and aggregate exposure need grinding or a resurfacing product.
If the slab is cracked and the pieces are moving, that is structural. Patching compound will not hold, it needs an engineer's eye.
Patchy Concrete Sealer and Concrete Resurfacing Options
Patchy concrete sealer is a frequent complaint and almost always an application problem. Sealer applied too thick, too thin, or on a damp slab dries unevenly, leaving a cloudy, blotchy film instead of a clear, even sheen.
The fix: strip the bad sealer, let the slab dry fully, and reapply in thin, even coats. Never seal a slab that is still curing or damp.
When Concrete Resurfacing Makes Sense
Concrete resurfacing makes sense when the slab is sound but the surface is not. If the concrete is structurally solid and only the top layer is rough, discolored, or worn, an overlay restores a clean, even finish at a fraction of replacement cost.
Resurfacing is the wrong call when the slab is cracked, sinking, or heaving, an overlay on a failing base just cracks along with it.
Prevention Checklist for DIY Pours and Pro Finishing
A good finish is decided before the trowel touches the slab. Use this checklist to prevent the problem.
- Set forms straight, clean, and at a consistent height
- Keep one consistent water-to-cement ratio; never add water to finish
- Place concrete in even lifts and screed to form height
- Float, then trowel, without overworking the surface
Most uneven finishes trace back to one of these steps.
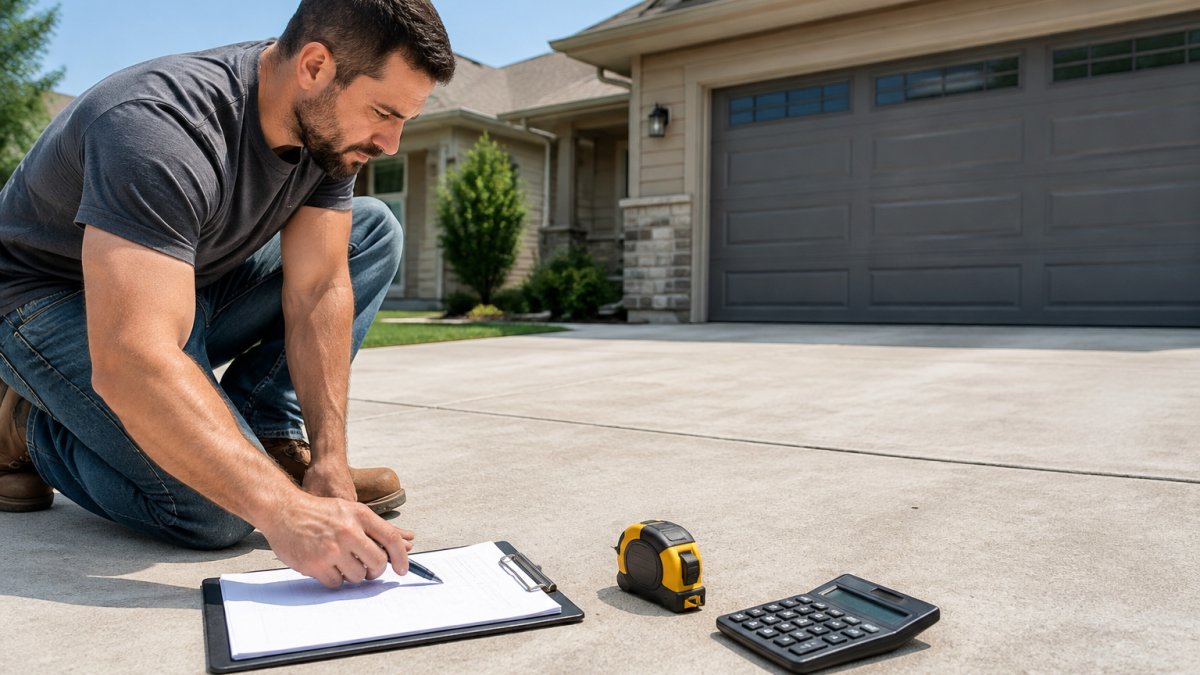
If you would rather not gamble on a DIY pour, BK Concrete LLC handles the whole job, from site preparation and grading to precision finishing. Our online cost estimator gives you a fast ballpark on material and labor before you commit.
Uneven concrete is rarely a mystery once you know what you are looking at.
BK Concrete LLC brings the site preparation, grading, and precision finishing that keep a slab even from edge to edge.
Frequently Asked Questions
Why does new concrete look blotchy?
New concrete often looks blotchy because the surface is still curing and drying at different rates. Uneven water content, temperature swings, and inconsistent finishing can all leave light and dark patches. Most color variation fades within 28 days as the slab finishes curing. If blotches remain after a month, the cause is usually too much water in the mix, overworking the surface, or a patchy sealer application.
How do you fix uneven concrete?
The right fix depends on the defect. Uneven color usually fades on its own or responds to a uniform sealer. High and low spots need grinding or a self-leveling compound. Rough texture and widespread surface defects call for concrete resurfacing. Match the repair to the problem first, because grinding a color issue or sealing a flatness issue wastes money and does not solve anything.
Does concrete have to be perfectly level?
No. Concrete needs to drain properly, which means a slight slope, not a dead-level surface. What matters is floor flatness, meaning no abrupt high spots or low spots that pool water or trip people. A slab with a consistent slope and no dips is doing its job. Perfectly level concrete would actually hold water and cause bigger problems over time.
Why does my concrete sealer look patchy?
A patchy concrete sealer usually comes from uneven application, applying too thin in some areas and too thick in others, or sealing a surface that was not fully cured or clean. Moisture trapped under the sealer also causes cloudiness and blotches. Strip the sealer, let the slab dry completely, clean it, and reapply in thin, even coats with a consistent roller or sprayer pattern.