 how-to
Why Concrete Driveways Crack Early and How to Prevent It
Last Updated: November 12, 2026
Quick Summary
Concrete driveways crack early mainly because the surface dries faster than water can replace it, causing plastic shrinkage in the first hours or days, or because of installation problems like a poorly compacted base, thin slabs, late control joints, and extra water added to the mix. You can prevent most early cracking by curing for at least 7 days, cutting joints on time, and keeping the mix and base to spec.
- Plastic shrinkage cracks often appear within hours of finishing, especially in hot, dry, or windy weather.
- A residential driveway base is commonly 4 to 6 inches of compacted granular material, compacted in lifts of about 6 inches.
- Control joints on a 4-inch slab are typically spaced about 8 to 12 feet apart and cut to roughly 1 inch deep.
- Cure new concrete for at least 7 days, longer in hot weather, to slow moisture loss.
- Treat a crack as a warning sign if it widens over 30 days, has vertical offset, or holds water.
Table of Contents
- The First 30 Days: Why New Concrete Driveways Crack Early
- Installation and Subgrade Problems That Cause Cracking
- How to Stop Concrete Cracking When Drying
- Acceptable Cracks in Concrete Slab: What's Normal vs. a Warning Sign
- How to Fix Hairline Cracks in New Concrete Slab
- How to Repair Large Cracks in Concrete Driveway
- Get a Professional Assessment Before Cracks Get Worse
- Frequently Asked Questions
The First 30 Days: Why New Concrete Driveways Crack Early
Most cracks in a new driveway show up before the concrete has fully cured.
A driveway can look perfect on day one, then hairline cracks appear within weeks. The cause is almost always one of a few predictable problems.
Below, we break down the real reasons why concrete driveways crack early, how to tell a normal crack from a warning sign, and how to fix each type.
Concrete doesn't crack because it's weak. It cracks because something pulls it apart while it's still gaining strength.
Plastic Shrinkage and Rapid Drying
Plastic shrinkage is cracking that happens while concrete is still wet. As water evaporates from the surface faster than it can be replaced, the top layer shrinks and tears away from the slab below.
This is early-age cracking at its most common. Hot, dry, or windy weather makes it worse. So does direct sun on a fresh pour.
Watch for cracks that appear within hours of finishing. They often look like short, parallel lines near the surface.
How to prevent it:
- Pour during cooler parts of the day
- Mist the surface to slow evaporation
- Use windbreaks on breezy days
Excess Water in the Mix
Adding extra water makes concrete easier to spread. It also weakens it. Too much water raises the water-cement ratio, which lowers strength and increases shrinkage.
Watering the mix on site to speed up the pour is a common shortcut that often comes back as cracking months later.
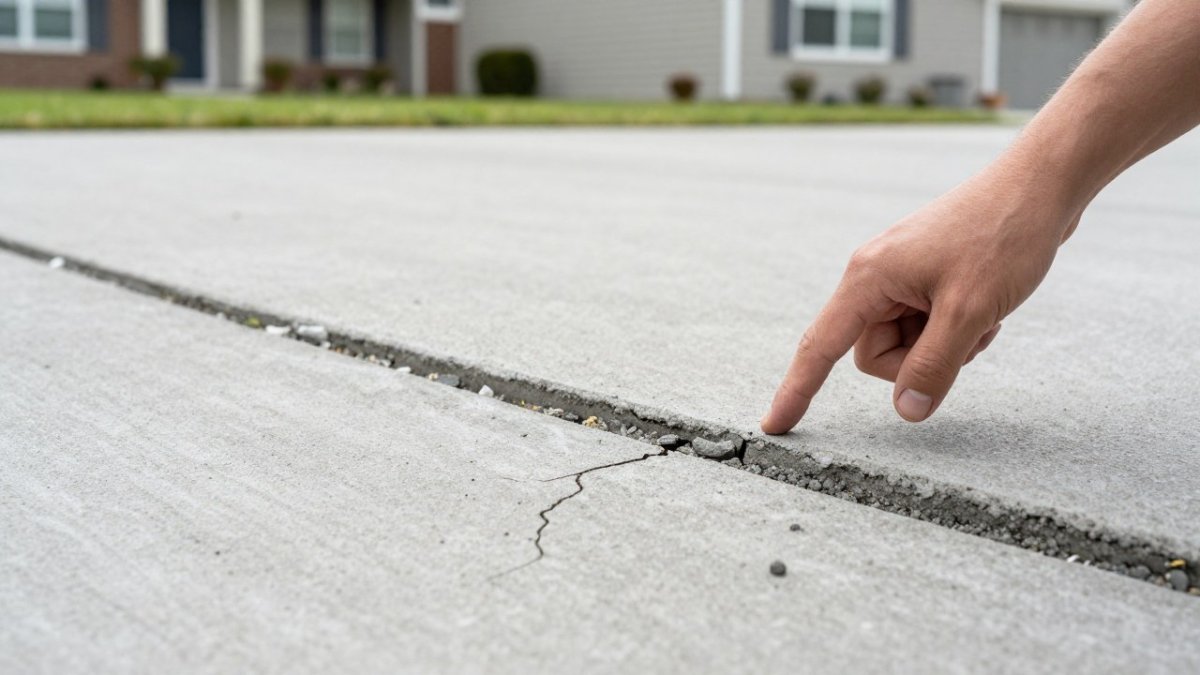
Installation and Subgrade Problems That Cause Cracking
Even a perfect mix will crack if it sits on a bad base or is built too thin. Installation errors are the second big cause, and they are the ones homeowners cannot see once the pour is done. Know the numbers a competent crew should hit so you can check the work rather than guess.
Poor Base Preparation and Soil Movement
Concrete needs a stable, compacted base. If the subgrade is soft, uneven, or poorly drained, the slab settles at different rates and the surface cracks.
What to check:
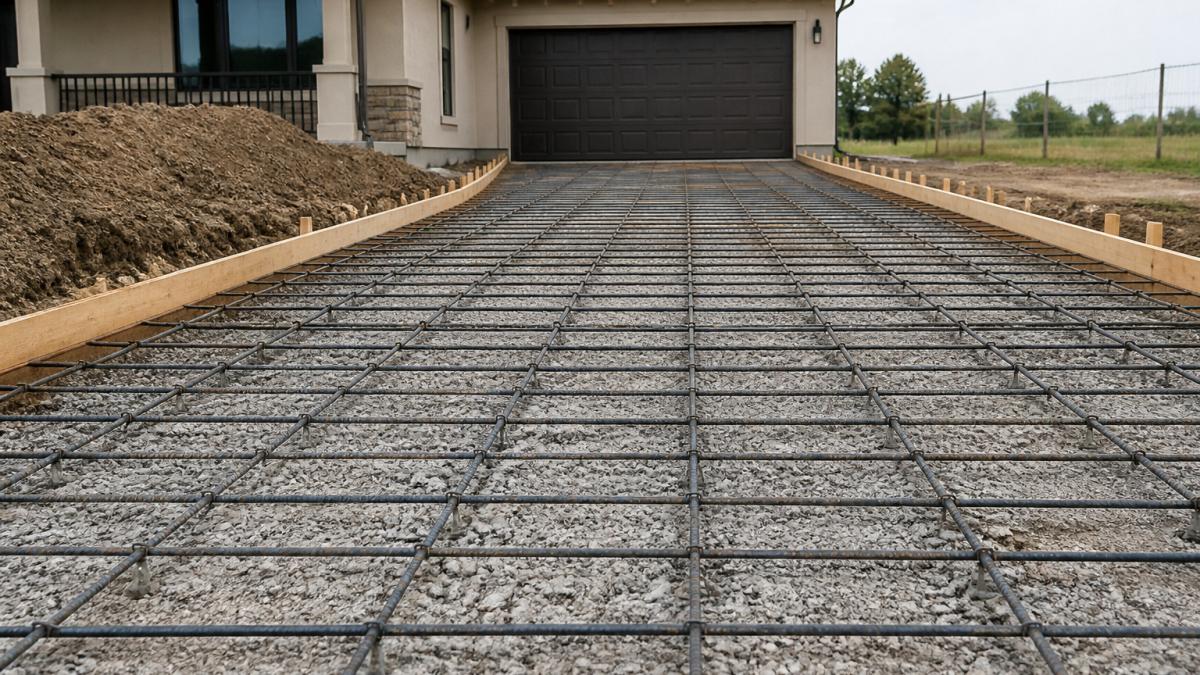
- Compaction: the base should be compacted in lifts (layers), typically about 6 inches at a time, not dumped and smoothed in one pass. Ask whether a plate compactor or roller was used.
- Depth: a residential driveway base is commonly 4 to 6 inches of compacted granular material, more where the soil is poor.
- Drainage: grade should fall away from the slab and from the garage, and the base should not trap water under the concrete.
Watch out: a base that looks flat but was never compacted will settle unevenly under the first few seasons of vehicle weight, and the crack often shows up months later, far from the pour date.
Slab Thickness and Reinforcement
Thickness is the single most common hidden shortcut. A driveway carrying passenger vehicles is commonly poured at 4 inches minimum, and 5 to 6 inches where trucks, RVs, or heavy loads are expected. Reinforcement does not replace thickness; it holds cracks tight once they form.
- Rebar or mesh placement: reinforcement should sit roughly in the middle third of the slab, not resting on the ground and not pushed to the surface. Mesh laid on the base does almost nothing.
- Support: chairs or dobies should hold rebar at the correct height during the pour.
- Continuity: reinforcement should be continuous across the slab, with proper lap lengths where pieces meet.
If you want to understand how reinforcement protects a driveway, this guide on why rebar matters in driveways explains the role it plays.
Control Joints: Spacing and Depth
Control joints give concrete a planned place to crack. Without them, cracks appear wherever the slab decides, usually in the worst spot.
- Spacing: a common rule is joint spacing of roughly 2 to 3 times the slab thickness in feet. A 4-inch slab typically gets joints about 8 to 12 feet apart.
- Depth: joints should be cut to about one-quarter of the slab thickness, so roughly 1 inch on a 4-inch slab.
- Timing: joints need to be cut while the concrete is still green, often within 6 to 24 hours depending on weather. Cut too late and the shrinkage crack has already formed somewhere else.
Watch out: a crew that cuts joints a day late in hot, windy weather has often already lost the race, and the crack will appear a few feet from the joint line rather than in it.
Concrete Mix and Water at the Site
Adding water on site to make the mix flow is one of the most common causes of early cracking. Extra water raises the water-cement ratio, lowers strength, and increases shrinkage. A plasticizer or water reducer is the correct way to improve workability without adding water.
What to check:
- The mix design and slump should be specified before the pour, not adjusted by eye.
- Water should not be added after the truck arrives unless the batch is designed for it.
- The crew should know the target slump and stick to it.
A Quick Workmanship Checklist
Before the pour, confirm the base depth and compaction, the slab thickness, the reinforcement type and height, the joint layout and spacing, and the mix and slump. After the pour, confirm joint cutting happened on time and curing started promptly. Those six checks catch most of the installation causes behind early driveway cracks.
How to Stop Concrete Cracking When Drying
You can't fully stop drying shrinkage, but you can control it. The goal is to slow water loss and let the slab cure evenly.
Curing is the key. Concrete doesn't dry to get strong. It cures through a chemical reaction that needs moisture.
Here's how to stop concrete cracking when drying:
- Cure for at least 7 days, longer in hot weather
- Keep the surface moist with a cover or curing compound
- Avoid pouring in extreme heat or wind without protection
Finish choices matter here. Our guide on how to choose the most durable concrete finish covers which options help concrete cure without cracking.
Acceptable Cracks in Concrete Slab: What's Normal vs. a Warning Sign
Most crack advice stops at a width chart. That is not how you actually judge a new driveway, because the same 1/8-inch crack can be routine or serious depending on when it appeared, where it sits, and whether it is still moving. Use the four checks below in order.
Check 1: Timing
When the crack showed up tells you a lot before you measure anything.
- Within the first few hours to two days: almost always plastic shrinkage. The surface dried faster than the slab could keep up. These are usually shallow and near the surface.
- Roughly two days to two weeks: drying shrinkage as the slab loses moisture and contracts. This is the most common window for early cracks and is usually expected.
- Two weeks to a few months: often a jointing or restraint issue, or a slab curling at the edges because the top dried faster than the bottom.
A crack that appears in the first 48 hours and then stops changing is a very different animal from one that appears at month four and keeps growing.
Check 2: Shape and Direction
- Short, parallel, or map-style surface lines: typical plastic shrinkage.
- Straight lines that run roughly parallel to each other at regular intervals: shrinkage cracks that found a weak plane, often where joints should have been.
- Cracks that wander diagonally across the slab: often restraint or point-loading, not simple shrinkage.
Check 3: Width and Movement
Measure with a crack gauge or a set of feeler gauges, not by eye, and write the number and date down. Re-measure in 30 days.
| Width | Typical reading | Reasonable action |
|---|---|---|
| Under 1/16 inch | Normal shrinkage | Monitor; seal outdoors before winter |
| 1/16 to 1/8 inch | Expected curing crack | Seal to block moisture |
| 1/8 to 1/4 inch | Borderline; check movement | Re-measure in 30 days; seal |
| Over 1/4 inch | Structural concern | Get it inspected |
Width alone is not the whole story. A stable 3/16-inch crack that has not changed in a year is less concerning than a 1/16-inch crack that has doubled in six weeks.
Check 4: Vertical Offset and Water
Run a straightedge across the crack. If one side sits higher than the other by more than about 1/8 inch, the slab has moved vertically, which points to the base rather than the concrete. Also watch what water does: a crack that holds water, stains, or shows efflorescence (the white powdery deposit) is letting moisture in and will worsen with freeze-thaw cycles.
The Short Version
Treat a crack as likely cosmetic when it is under 1/8 inch, appeared in the first two weeks, has not widened on re-measurement, has no vertical offset, and shows no water staining. Treat it as a warning sign when any of these is true:
- It widens measurably over 30 days
- One side is higher than the other
- Water pools in or near it
If cracking comes with sinking or uneven edges, it may point to a deeper foundation issue. This guide on repairing or replacing a concrete foundation helps you weigh the options.
How to Fix Hairline Cracks in New Concrete Slab
Hairline cracks are easy to handle and rarely need a pro. Fix them before winter so water can't get in and freeze.
Here's how to fix hairline cracks in a new concrete slab:
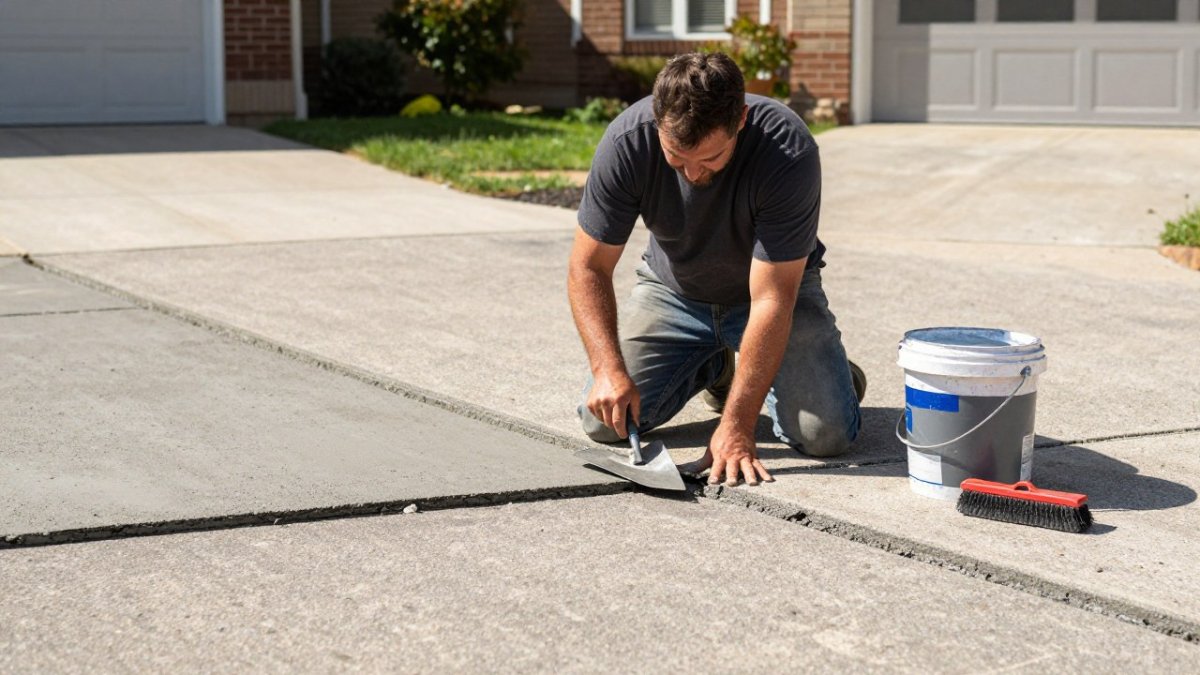
- Clean the crack with a wire brush and remove loose debris
- Flush it with water and let it dry
- Apply a concrete crack filler or sealant made for slabs
- Smooth the surface with a putty knife
- Let it cure per the product label
- Seal the whole slab to block moisture
Small cracks that appear early are best sealed quickly. Waiting lets water penetrate, and freeze-thaw cycles widen them fast.
How to Repair Large Cracks in Concrete Driveway
Large cracks need more than filler. If a crack is wider than 1/8 inch or has uneven edges, it's a structural sign.
Here's how to repair large cracks in a concrete driveway:
- Clean and widen the crack into a clean channel
- Fill the base with a backer rod for deep cracks
- Apply a flexible concrete patch or epoxy
Before you commit to a repair, it helps to know the cost gap between fixing and replacing. Our guide on estimating small driveway replacement costs helps you compare repair versus replacement.
Get a Professional Assessment Before Cracks Get Worse
Small cracks are cheap to fix. Structural ones are not. The difference often comes down to timing.
A widening crack, a sinking edge, or cracks that keep coming back all point to problems below the surface. Patching the top won't fix a bad base or weak subgrade.
BK Concrete LLC handles site preparation, grading, and rebar reinforcement as part of every job. When you're ready, you can get a concrete driveway replacement quote and lock in a clear scope before work starts.
If your driveway is cracking and patching isn't holding, it's worth finding out why before you spend more on repairs.
Frequently Asked Questions
Is it normal for concrete driveways to crack?
Some cracking is normal, especially hairline cracks that appear as the concrete cures. Concrete shrinks as it dries, and small cracks less than 1/8 inch wide are generally cosmetic. However, cracks wider than 1/4 inch, cracks with vertical displacement, or cracks that appear within the first few days often signal installation or material problems. In those cases, an inspection by a concrete professional is recommended to rule out subgrade or mix issues.
What causes a new concrete driveway to crack early?
Early cracking usually comes from rapid drying and plastic shrinkage, excess water added to the mix, poor subgrade preparation, missing control joints, or freeze-thaw cycles during curing. Hot, windy, or sunny weather speeds evaporation and raises the risk. A contractor can usually identify the cause by looking at the crack pattern, width, and timing, which helps determine whether the issue is cosmetic or structural.
How do you fix hairline cracks in a new concrete driveway?
For hairline cracks under 1/8 inch, clean the area with a wire brush and compressed air, then apply a concrete crack filler or self-leveling sealant. For slightly wider cracks, use a polyurethane caulk designed for concrete. Avoid patching during freezing temperatures or when rain is expected. Sealing the driveway after 28 days of curing also helps prevent moisture from entering hairline cracks and causing freeze-thaw damage.
When should I worry about cracks in my concrete driveway?
Worry when a crack is wider than 1/4 inch, has one side higher than the other, runs diagonally across the slab, or continues to widen over a few weeks. These signs point to settlement, subgrade failure, or structural movement rather than normal shrinkage. Cracks that let water pool or reach the base can worsen with freeze-thaw cycles. A professional evaluation is the safest next step before the damage spreads.